The Ultimate Guide to Wood Floor Sanding for Longevity and Beauty
Ah, wood floors. Timeless, elegant, and the unsung heroes of your home or office. They’ve likely borne the brunt of your kids’ endless adventures, countless dinner parties, and the occasional late-night tiptoe for a cheeky snack. Yet, when was the last time you gave them the care they truly deserve?
We’re not talking about a quick mop and a promise of a better tomorrow. No, we’re talking about something far more transformative: wood floor sanding.
Now, before you groan and mutter, “Another maintenance job!” – hear me out. Sanding your wood floors isn’t just a chore; it’s an investment. One that pays dividends in longevity, aesthetics, and even property value. Let’s dive into why regular wood floor sanding is essential and why neglecting it might be the biggest mistake you’re making with your home.

The Life and Times of a Wooden Floor
Wooden floors are tough. They’ve been around for centuries, and for good reason. Whether it’s oak, maple, or a chic engineered wood, these floors can withstand decades of wear. But here’s the catch: they’re not indestructible.
Every scuff, scratch, and scrape eats away at the surface, turning that once-glorious sheen into a dull, lacklustre shadow of its former self. Daily life is the culprit – think shoes, furniture, pets, and even dust. Over time, the protective finish wears down, leaving the raw wood exposed. And when that happens, you’re in trouble.
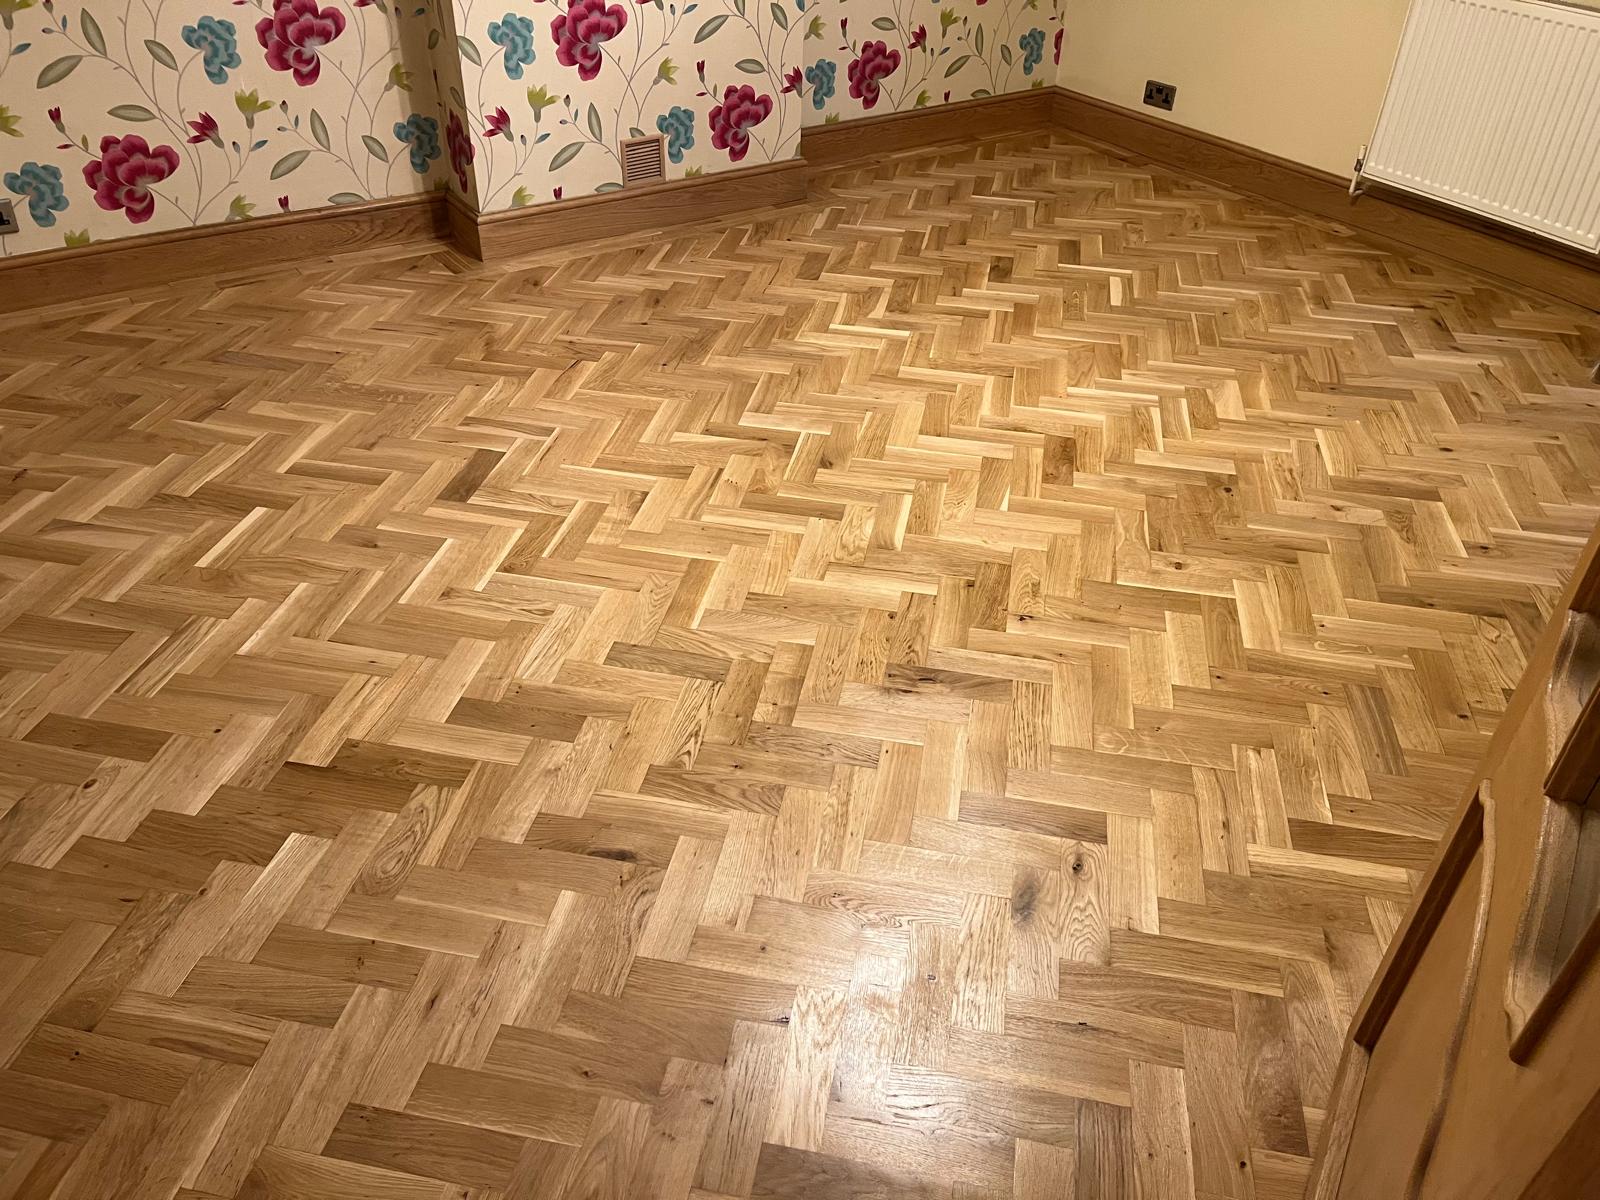
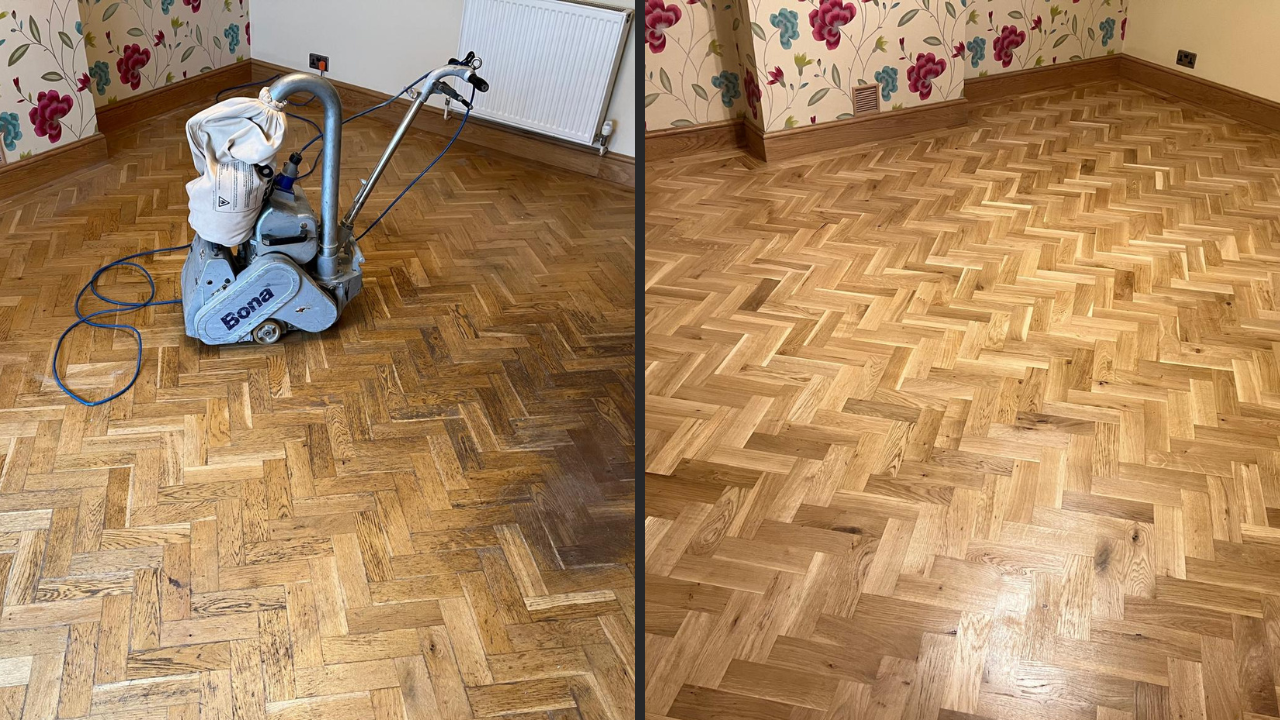
Here’s where sanding comes to the rescue. It’s like a facelift for your floors, stripping away years of damage and revealing the fresh, untouched wood beneath.
The Science Behind Sanding
Floor sanding, in layman’s terms, is the process of removing the top layer of a wooden floor. Sounds simple, doesn’t it? But like most things that seem easy – trimming your fringe, for example – it’s deceptively complex.
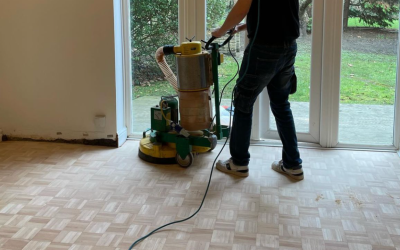
Professionals use industrial-grade sanding machines to strip back the surface evenly. This removes scratches, stains, and even minor dents. The result? A smooth, clean canvas ready for sealing, staining, or oiling.
It’s not just about aesthetics, though. Sanding opens up the wood’s pores, allowing finishes like oils or varnishes to penetrate more deeply. This creates a robust barrier against future damage. So, by sanding regularly, you’re not just fixing problems; you’re preventing new ones.

The Case for Regular Sanding
Now, I hear you: “Sure, sanding is great, but how often do I really need it?”
The answer depends on a few factors – foot traffic, the type of wood, and how well you maintain the floor. But as a rule of thumb, every 7–10 years is a good benchmark for domestic floors. High-traffic commercial spaces might need it more frequently, perhaps every 3–5 years.
Here’s why regular sanding is non-negotiable:
- Protecting the Wood Beneath Wood is like a sponge. Without its protective finish, it absorbs spills, moisture, and even oils from your skin. Over time, this leads to warping, staining, and (gulp) rotting. Sanding removes the damaged top layer and prepares the floor for a fresh finish that acts as a shield.
- Extending the Floor’s Lifespan Left untreated, scratches and dents can deepen, eventually requiring costly repairs or even replacement. Regular sanding ensures these imperfections never get a chance to take root.
- Enhancing Your Home’s Aesthetics Let’s be honest: no one wants a patchy, scratched-up floor. Sanding restores the wood’s natural beauty, making it look as good as – if not better than – new.
- Boosting Property Value Thinking of selling? Potential buyers love wood floors, but only if they’re in good condition. A sanded, polished floor can add thousands to your property’s value.
Common Objections: Let’s Address Them
At this point, you might still be hesitant. That’s fair. Let’s tackle some common objections head-on.
“It’s too expensive.”
True, sanding isn’t free. But compare it to the cost of replacing a damaged floor or covering it up with carpets, and it’s a bargain. Think of it as preventative maintenance, like servicing your car.
“It’s messy and time-consuming.”
Gone are the days of dust clouds and endless cleanup. Modern sanding equipment is virtually dust-free, and professionals can complete the job in a day or two.
“Can’t I just use a floor polish?”
Polishes are great for maintenance but can’t fix deep scratches or worn finishes. Sanding is the only way to rejuvenate the wood itself.
A Step-by-Step Look at the Sanding Process
So, what exactly happens during a floor sanding session? Here’s a quick overview:
- Inspection
The professional assesses the condition of your floor, identifying problem areas and determining the best course of action. - Preparation
Furniture is removed, and any loose nails or staples are dealt with. If the floor has gaps, they might be filled at this stage. - Sanding
Using a series of sandpaper grits, the floor is sanded to remove imperfections and achieve a smooth finish. - Finishing Touches
Once sanding is complete, the floor is cleaned thoroughly. A protective finish – be it oil, varnish, or wax – is then applied. - Buffing and Polishing
Finally, the floor is buffed to enhance its shine and smoothness.

Choosing the Right Finish for Wood Floor: The Cherry on Top
After sanding, the finish you choose will determine not just the look but also the durability of your floor. Here are the most popular options:
- Lacquer: Provides a glossy, durable surface ideal for high-traffic areas.
- Oil: Penetrates deeply, enhancing the wood’s natural beauty. Perfect for a more rustic look.
- Wax: Offers a soft, matte finish but requires more frequent maintenance.
- Stain: Adds colour while still showcasing the wood’s natural grain.
Your choice will depend on your lifestyle, aesthetic preferences, and maintenance tolerance. A professional can guide you on what works best for your specific floor.

The Risks of Neglect
Still not convinced? Let me paint a grim picture of what happens when you neglect sanding altogether.
- Warping and Splitting
Without sanding and sealing, moisture seeps into the wood, causing it to swell, warp, or split. Once that happens, sanding won’t help – you’ll need replacements. - Permanent Stains
Spill a glass of red wine on unprotected wood, and you’ve got a permanent reminder of that one Friday night. - Increased Repair Costs
Minor scratches can be sanded out, but deep gouges require replacing the damaged boards entirely – a far more expensive and invasive process.
DIY vs. Professional Sanding: A Word of Caution
You might be tempted to rent a sanding machine and tackle the job yourself. After all, how hard can it be?
The truth? Harder than you think. Sanding requires skill, precision, and the right equipment. A slight misstep can leave your floor uneven or even permanently damaged. Professionals, on the other hand, have the expertise to deliver flawless results – and often faster than you could manage.

How to Maintain Your Floors Between Sanding
Regular sanding is essential, but there’s plenty you can do to keep your floors in tip-top shape between sessions:
- Vacuum Regularly
Dust and dirt act like sandpaper, scratching the surface over time. A quick vacuum prevents this. - Use Protective Pads
Stick felt pads under furniture legs to prevent dents and scratches. - Mop Sparingly
Too much water is the enemy of wood. Use a damp, not soaking, mop. - Refinish as Needed
If the finish starts looking dull, a quick buff or polish can extend its life.

Final Thoughts: A Love Letter to Your Floors
Your wooden floors are more than just a surface to walk on; they’re a statement. They tell a story of your home, your life, and your care. Regular floor sanding ensures that story is one of beauty, resilience, and longevity.
So, next time you catch a glimpse of those scuffed boards, don’t sigh and look away. Instead, see the potential beneath the wear and tear. Call in the professionals, roll up your sleeves, or simply plan ahead for that much-needed sanding session.
Because when it comes to wood floors, a little effort today saves a lot of heartache tomorrow. And let’s face it – they deserve nothing less.